![]()
![]()
![]()
![]()
![]()
![]()
![]()
![]()
![]()
![]()
![]()
![]()
|
|
|
Aviation Links:
|
CLICK HERE FOR FIRST FLIGHT PICTURES CLICK HERE FOR LINK TO PAGE WITH FIRST FLIGHT VIDEO My RV-6A project started with the purchase of the plans and construction manual in May 1994 but actual construction did not begin until I purchased the tail kit in July 1996. The tail was built between submarine patrols while I was serving onboard USS ALABAMA (SSBN 731) in Bangor, WA, which is where the numbers in my tail number (N731CK) came from. Many (if not most) experimental aircraft builders use their first and last initials as the last two letters of their aircraft registration identification ("tail numbers"). I used my first initial, C, but the K in the N# is to recognize the large number of rivets my wife Kellie helped set during this project. She probably bucked or shot more than a third of the rivets in this airplane, lending me a helping hand when it was difficult to reach both sides of whatever part I was working on. Paint job finally completed in February 2011:
After the tail was built in the garage of our Poulsbo, WA home, the wings were built to about the 80% complete stage in a bedroom of the house we lived in while stationed in the Monterey, CA area. The wings were finished and the fuselage was started (partial assemblies) in the basement of our home in Crane, Indiana. After Indiana, we were transferred back to the Bangor, WA area so the fuselage was finished in our Poulsbo, WA garage to the point of landing gear and engine installed. After transferring to the San Jose, CA area in August 2006, the fuselage was finished in our Mountain View, CA garage with final assembly being done in my hangar at the South County Airport (E16) in San Martin, CA. FINALLY AIRWORTHY!!!!!! After almost twelve and a half years of construction, my RV-6A was declared by the FAA to be airworthy on 17 October 2008. The airworthiness certificate for RV-6A N731CK was issued by the San Jose FSDO on completion of the airworthiness inspection by the FAA inspector. The weather, the plane, and I were all ready to go on Saturday morning 25 October 2008.....so with Kellie manning the cameras (video and still) and Justin manning my handheld radio on the ground, I launched for N731CK's maiden flight. The initial flight lasted 30 minutes as planned, with a climb to 3000' for 20 minutes of high power cruise flight (staying within 3 or 4 miles of the airport) followed by just enough slow flight at altitude to verify airspeed indications as the plane was slowed to just above a approach stall speed and attitude (didn't actually stall the plane on first flight, just wanted to get close enough to make sure my planned approach and landing indicated airspeeds were good). With everything going as expected and engine monitor indications all "in the green", I made a normal approach and landing. All in all, it was everything I had spent the last 12-plus years dreaming it would be; a very exciting day and extremely satisfying experience to fly what I had spent so much time and effort building. As of April 2011, N731CK had about 215 hours on the Hobbs meter and has provided many memorable flying hours, including a great airplane camping trip with my son Justin from CA to Oshkosh, WI for EAA Airventure 2009. Most of the hours have been flown on day trips in CA but besides the OSH trip, I've been able to make overnight trips to LA (John Wayne Orange County airport, KSNA), Oxnard (KOXR - about 3 times a year) and to the Seattle area for 10 days in June 2010. And Palm Springs for lunch with my wife is an easy day trip using our RV-6A. I look forward to many more trips and years of flying adventures in N731CK. See the links at top for some, but certainly not all, of the construction photos. Like the RV-6A project, this web site is an on-going work always under construction....
Picture of Kellie and Chris departing Calaveras (KCPU) airport after the April 2010 Calaveras Airfaire - this was Kellie's first "cross-country" flight in our RV-6A (thanks to Larry Mersek for the great camera work from the ground):
Once I got an iPhone, I started using that plugged into my intercom system for in-flight music and then found it was also a great electronic charts device, especially when coupled with an external Bluetooth GPS reciever to boost the performance of the built-in iPhone GPS. So in April 2011 I installed this iPhone mount using parts from R.A.M. It works great, although I sure would like to have the charts feature on the bigger screen like an iPad....but I'm not sure where or how I'd mount an iPad. Here's what my iPhone music/navigation/airport directory mount looks like:
CLICK HERE FOR FIRST FLIGHT PICTURES CLICK HERE FOR LINK TO PAGE WITH FIRST FLIGHT VIDEO After the first flight of my 12-plus year RV-6A project on 25 October 2008, Kellie and I (Chris) pose with N731CK before putting my "new" plane back in the hangar for a post-first-flight inspection:
In the beginning, my first completed part - the HS spar (side note: the photo is a scan as digital cameras were not yet available and the kids in the picture are my oldest daughter, a freshman in college at time of first flight, and my son, a high school sophomore at time of first flight; their younger sister, who was in the 6th grade at time of first flight, wasn't born yet when the project started so she missed this first step photo. I still look this young and thin and my hair hasn't changed a bit....):
And more than 12 years later, this picture was taken on 25 October 2008, the day of the first flight (that first part shown in the picture above is the rear spar of the horizontal stabilizer on the tail):
The picture below is of me with our youngest two kids, taken immediately after the first flight. My son, standing a head taller than me in this photo, is the toddler that's wearing the bicycle helmet in the "first completed part" picture shown a couple pictures above this:
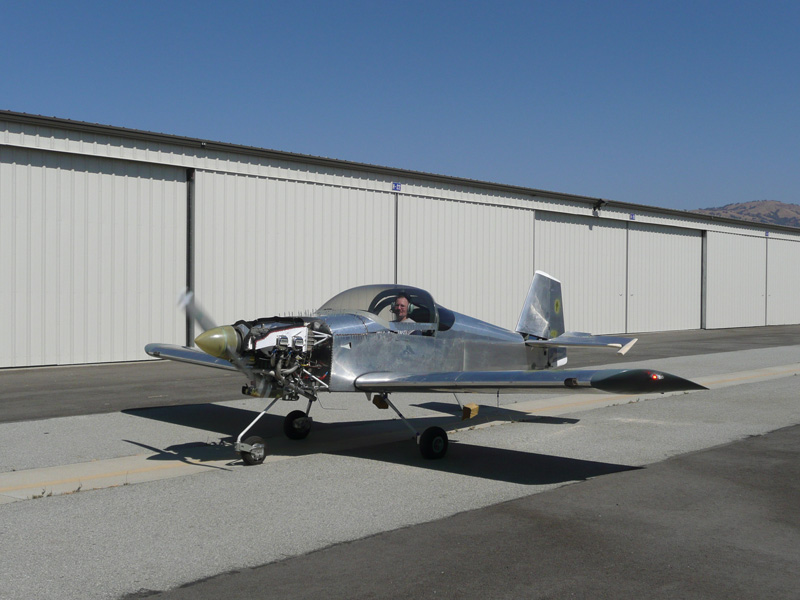
First taxi tests were performed on 24 September 2008:
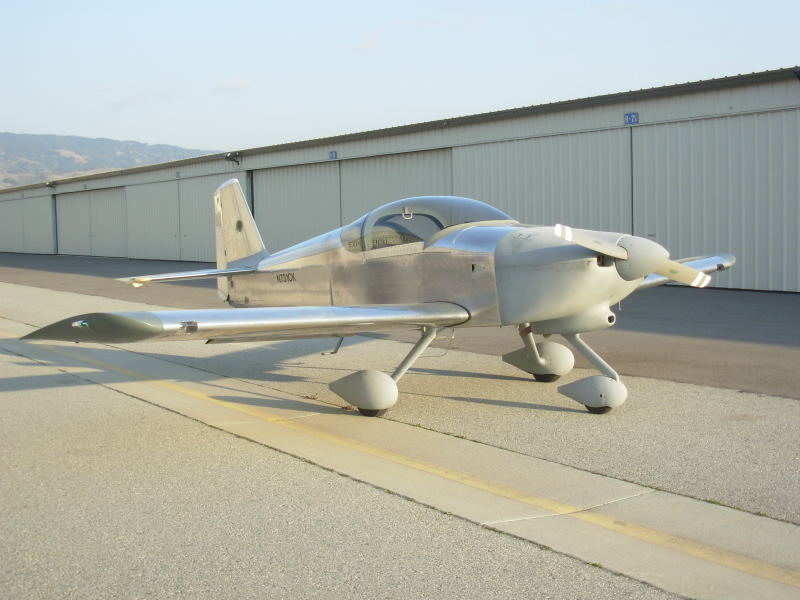
With Phase I flight testing complete and all gear leg fairings and wheel pants installed, N731CK still needs a paint job but that'll have to wait as I'm having too much fun flying it and have to save some pennies for that fancy paint job (May 2009 photos):
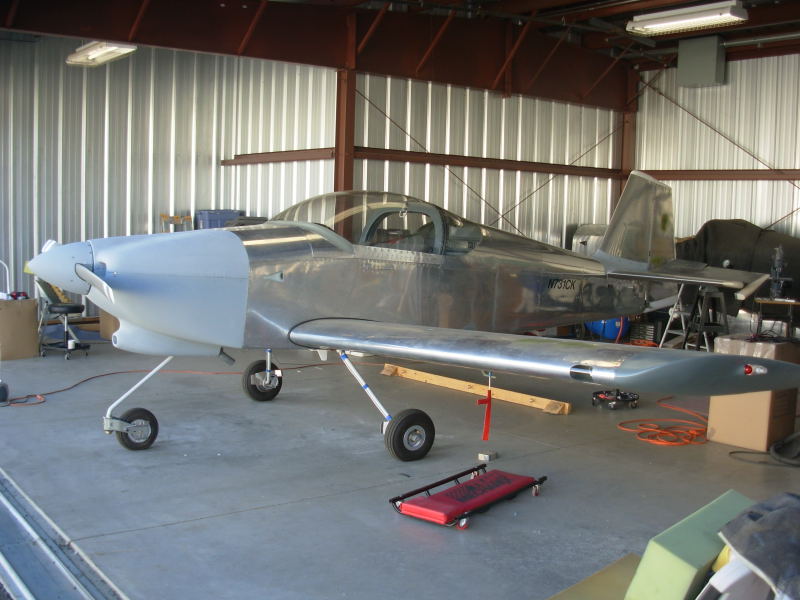
And with some primer on the fairings (Dec2009):
|
|
This page was last updated on 12/18/11.
Click here for questions or feedback. Copyright © 2007. All rights reserved. Chris Hand, chris@ckhand.com
|
-9.JPG)
-061.JPG)
015.JPG)
-1.jpg)
-2.jpg)
.JPG)

.JPG)