
|
|
|
Aviation Links:
|
Fuselage: pg 1 | pg 2 | pg 3 | pg 4 | pg 5 | pg 6 | pg 7 | pg 8 | pg 9 | pg 10 pg 11 | pg 12 | pg 13 | pg 14 | pg 15 | pg 16 | pg 17 | pg 18 | pg 19 | pg 20 pg 21 | pg 22 | pg 23 | pg 24 | pg 25 | pg 26 | pg 27 | pg 28 | pg 29 | pg 30 pg 31 | pg 32 | pg 33 | pg 34 | pg 35 | pg 36 | pg 37 | pg 38
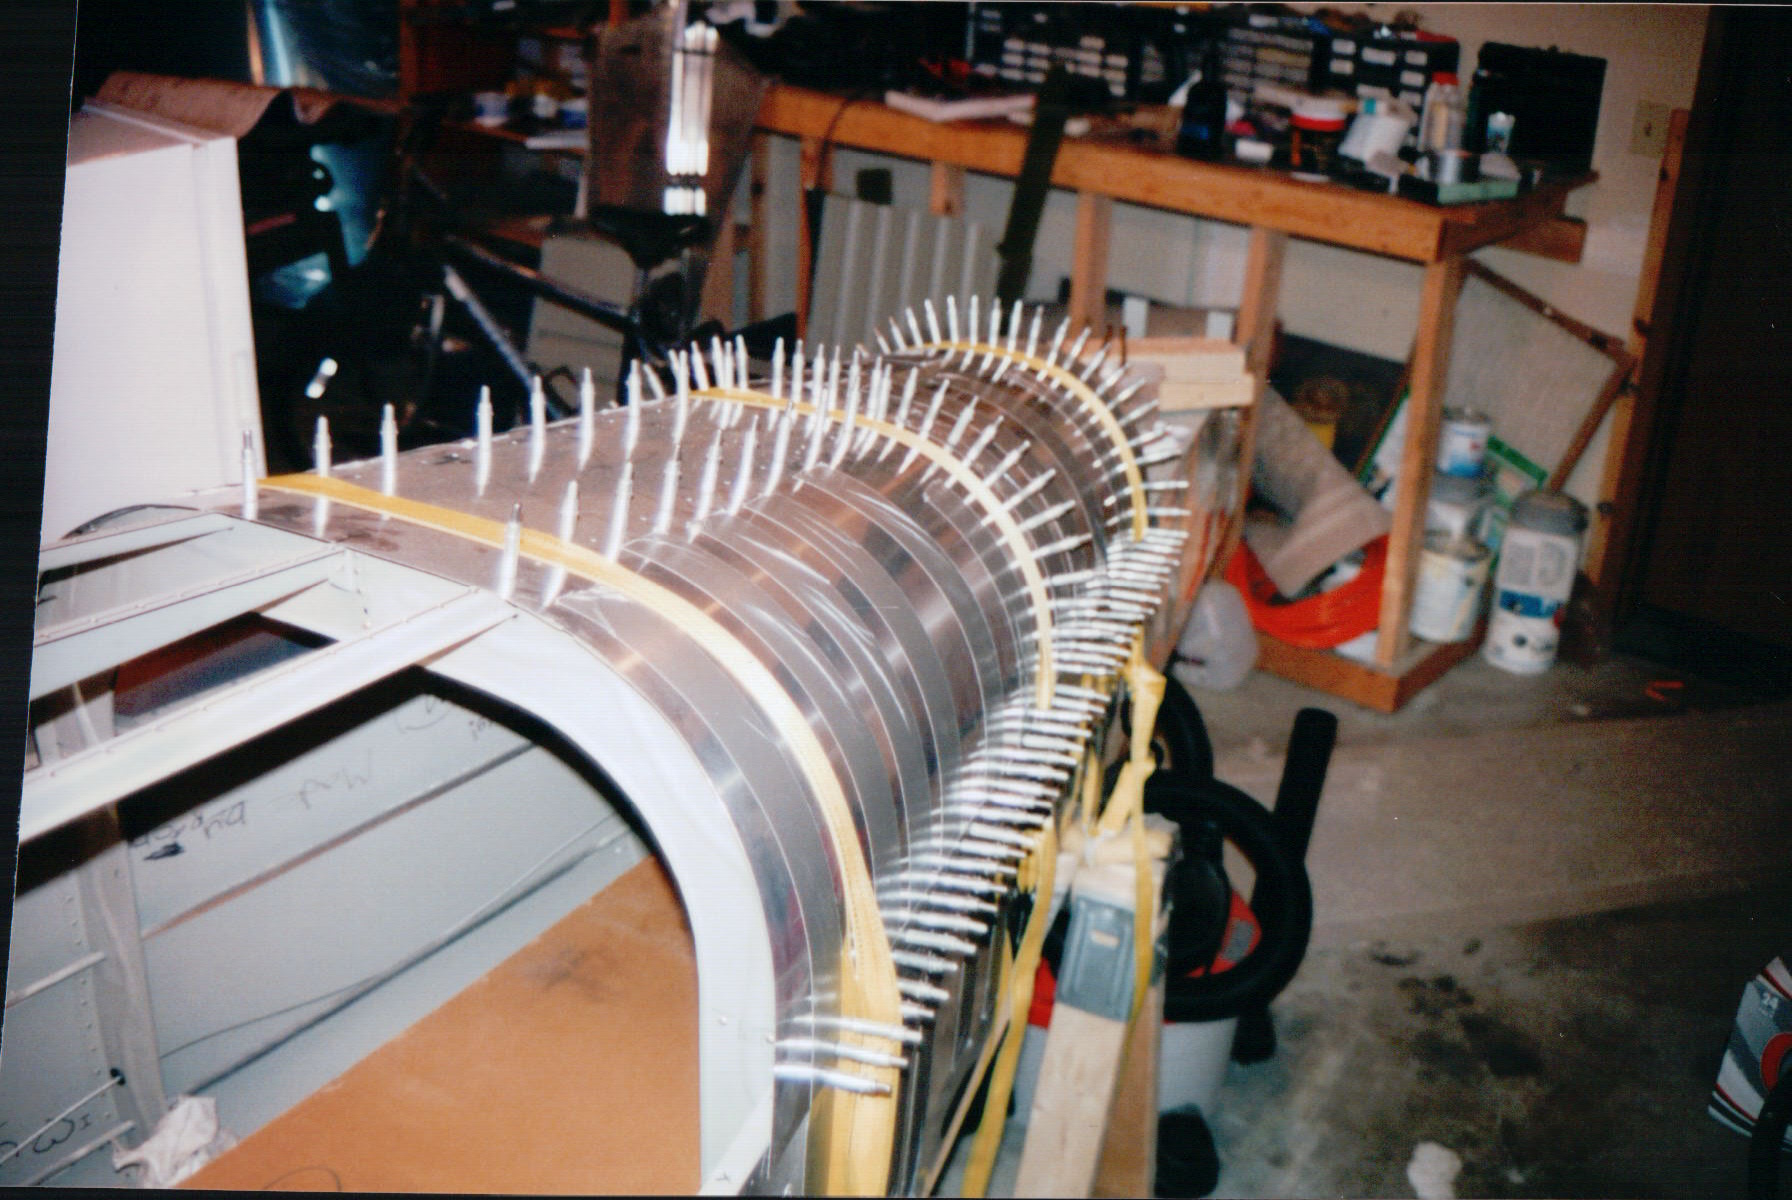
These pictures show the aft fuselage top skins being fit and drilled to the RV-6A fuselage skeleton. The skins on this older kit were not pre-punched as they are on newer kits, so the process was to strap and tape the skins in place, then start drilling at the top, working out and down from the top, center of each skin. I pre-drilled the fuselage bulkhead flanges and used long (12") drill bit to back-drill the skins from inside the fuselage tail-cone. Inside the fuselage here, you can see the thin plywood I cut to shape and placed across the bottom fuselage bulkheads to allow me to lay on my back and do the back-drilling. I had a helper, usually one of my kids, put clecos in from the top, or if I was by myself then I'd put clecos in from the inside and move them to the outside before moving to the next skin. I used yellow cargo straps and the old aircraft standard duct tape to hold things in place prior to drilling. Cardboard was placed between the cargo strap buckles and the skins to protect the aluminum skins:
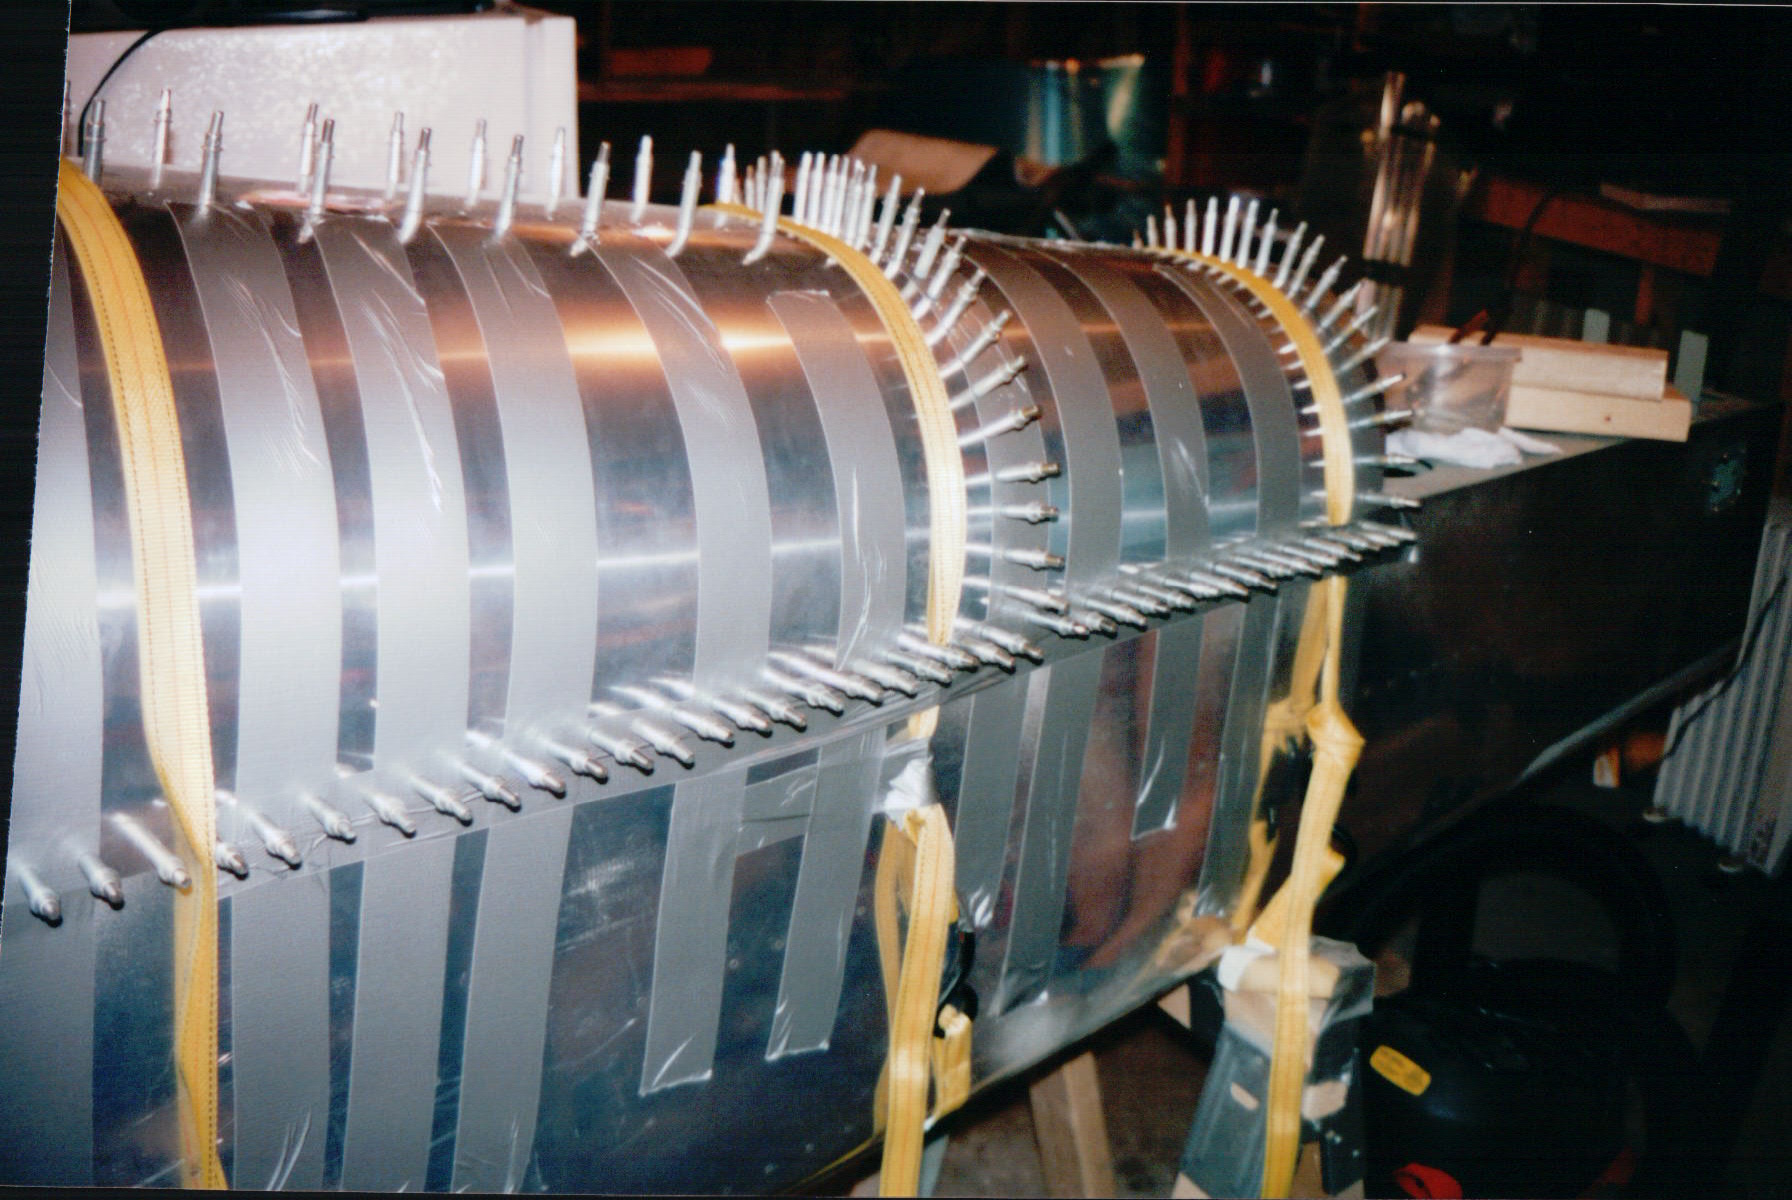
Side view after drilling, note the "sideways" duct tape on the middle cargo strap - prior to the clecos going in, that tape was required to keep the strap from sliding aft just from the natural taper of the fuselage shape:
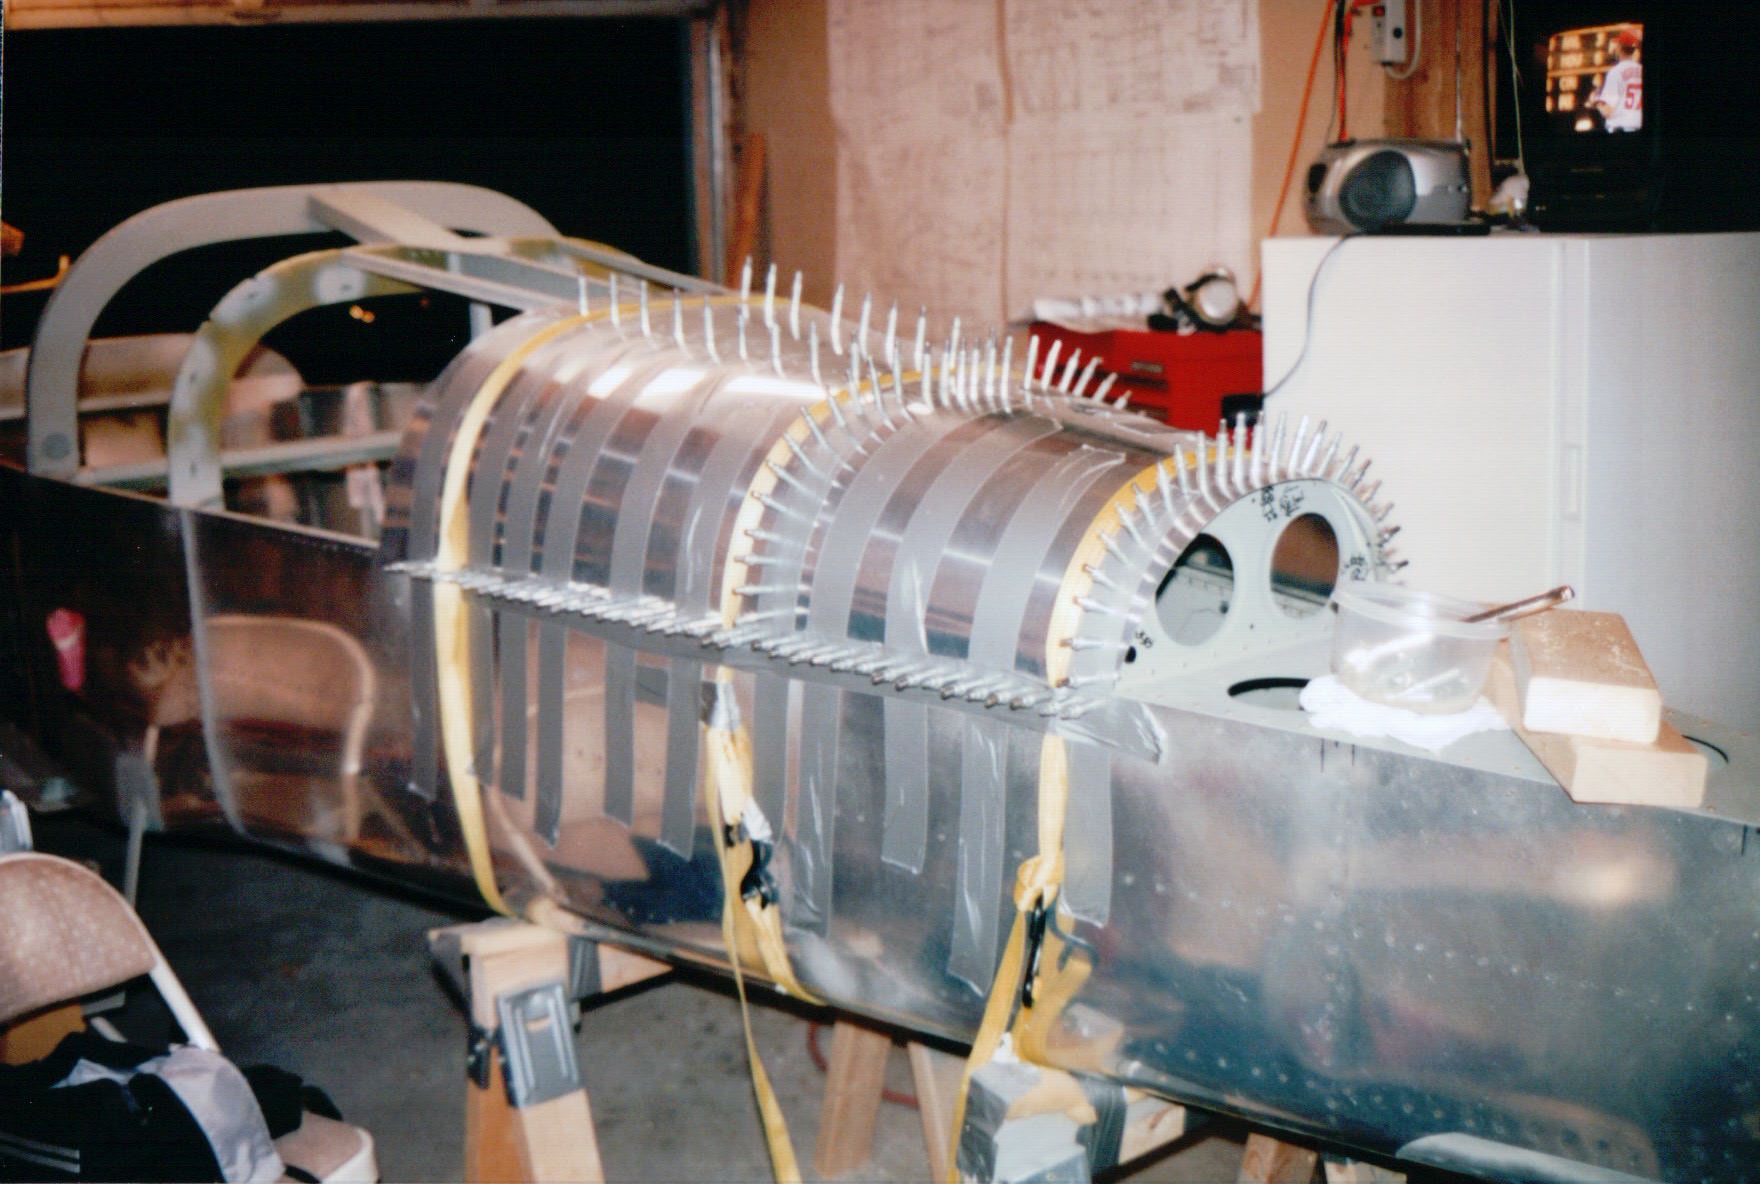
Wider view as we're working our way forward; the art work on aft-most top bulkhead is just part of what my youngest daughter decorated the inside of my plane with while the fuselage was under construction prior to skinning (I review the artwork every year during annual condition inspection!):
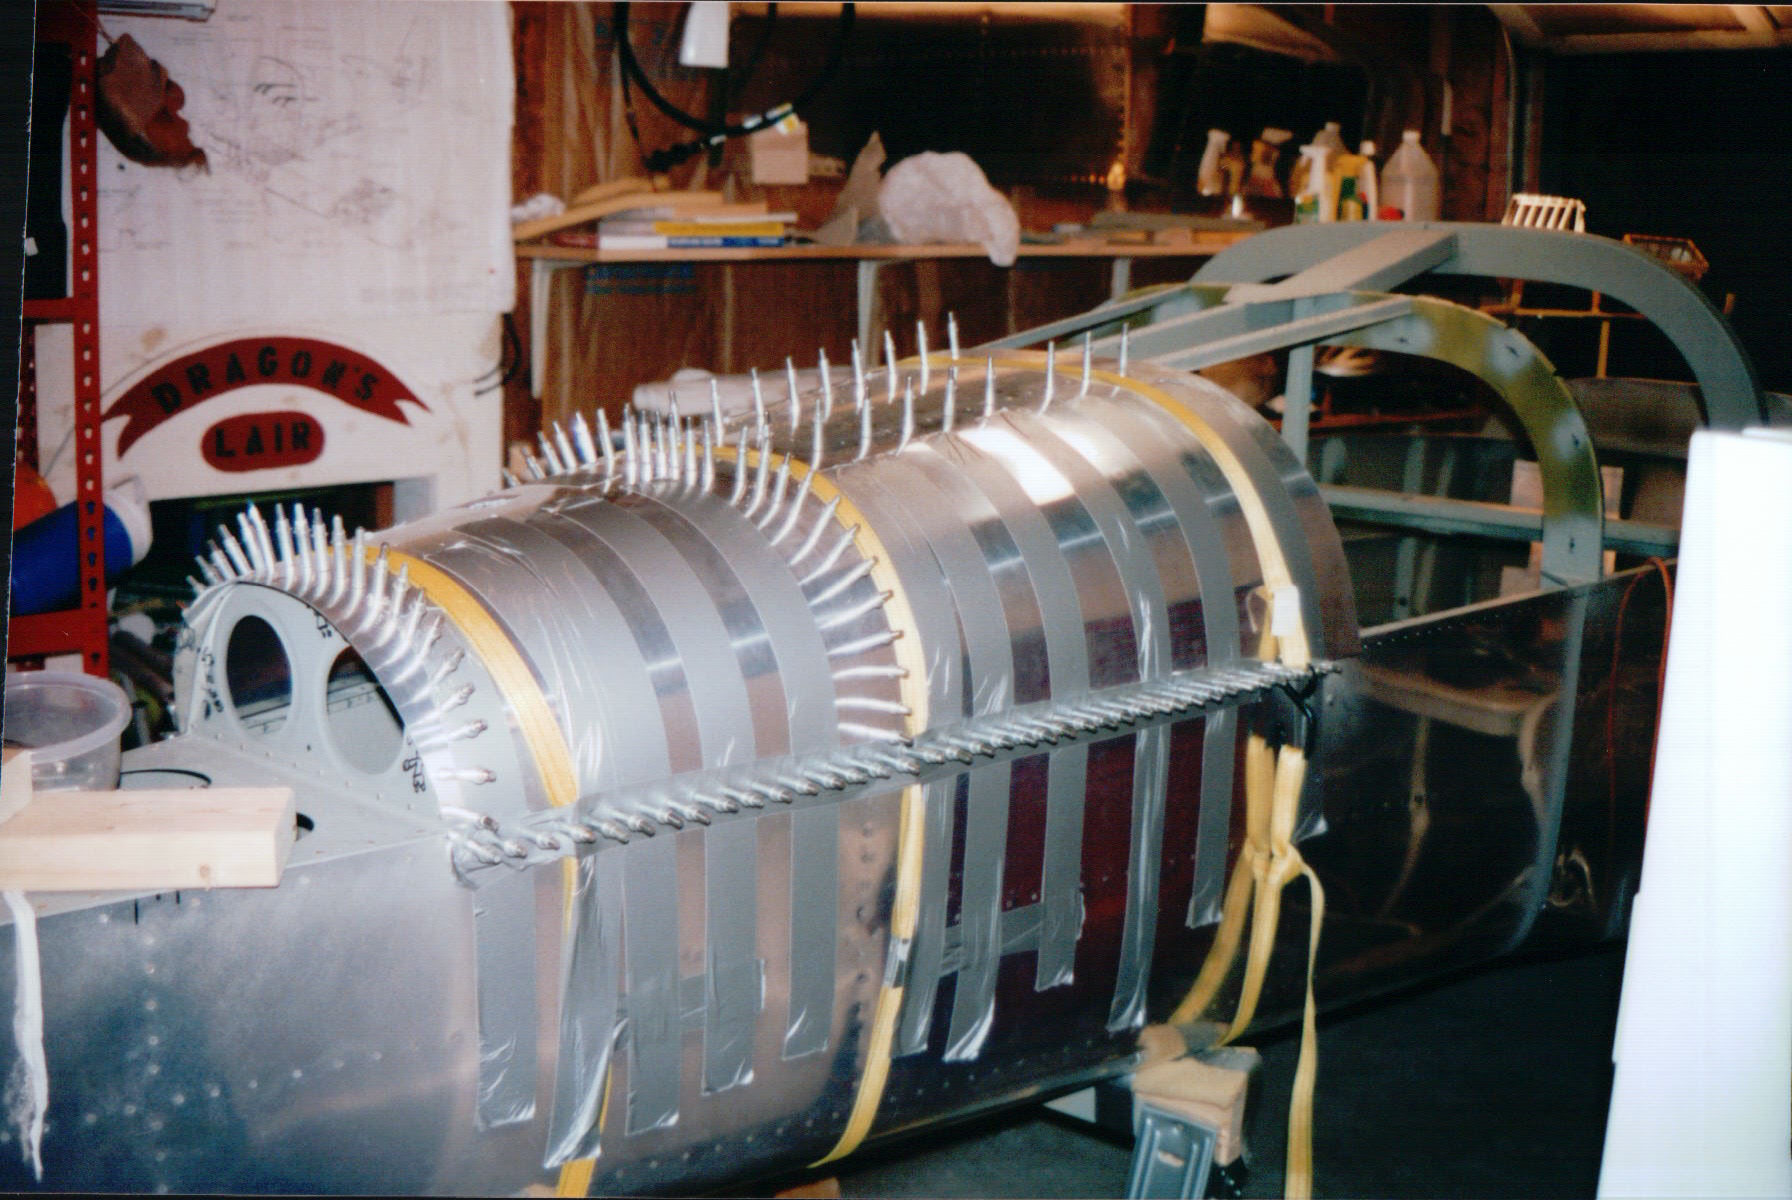
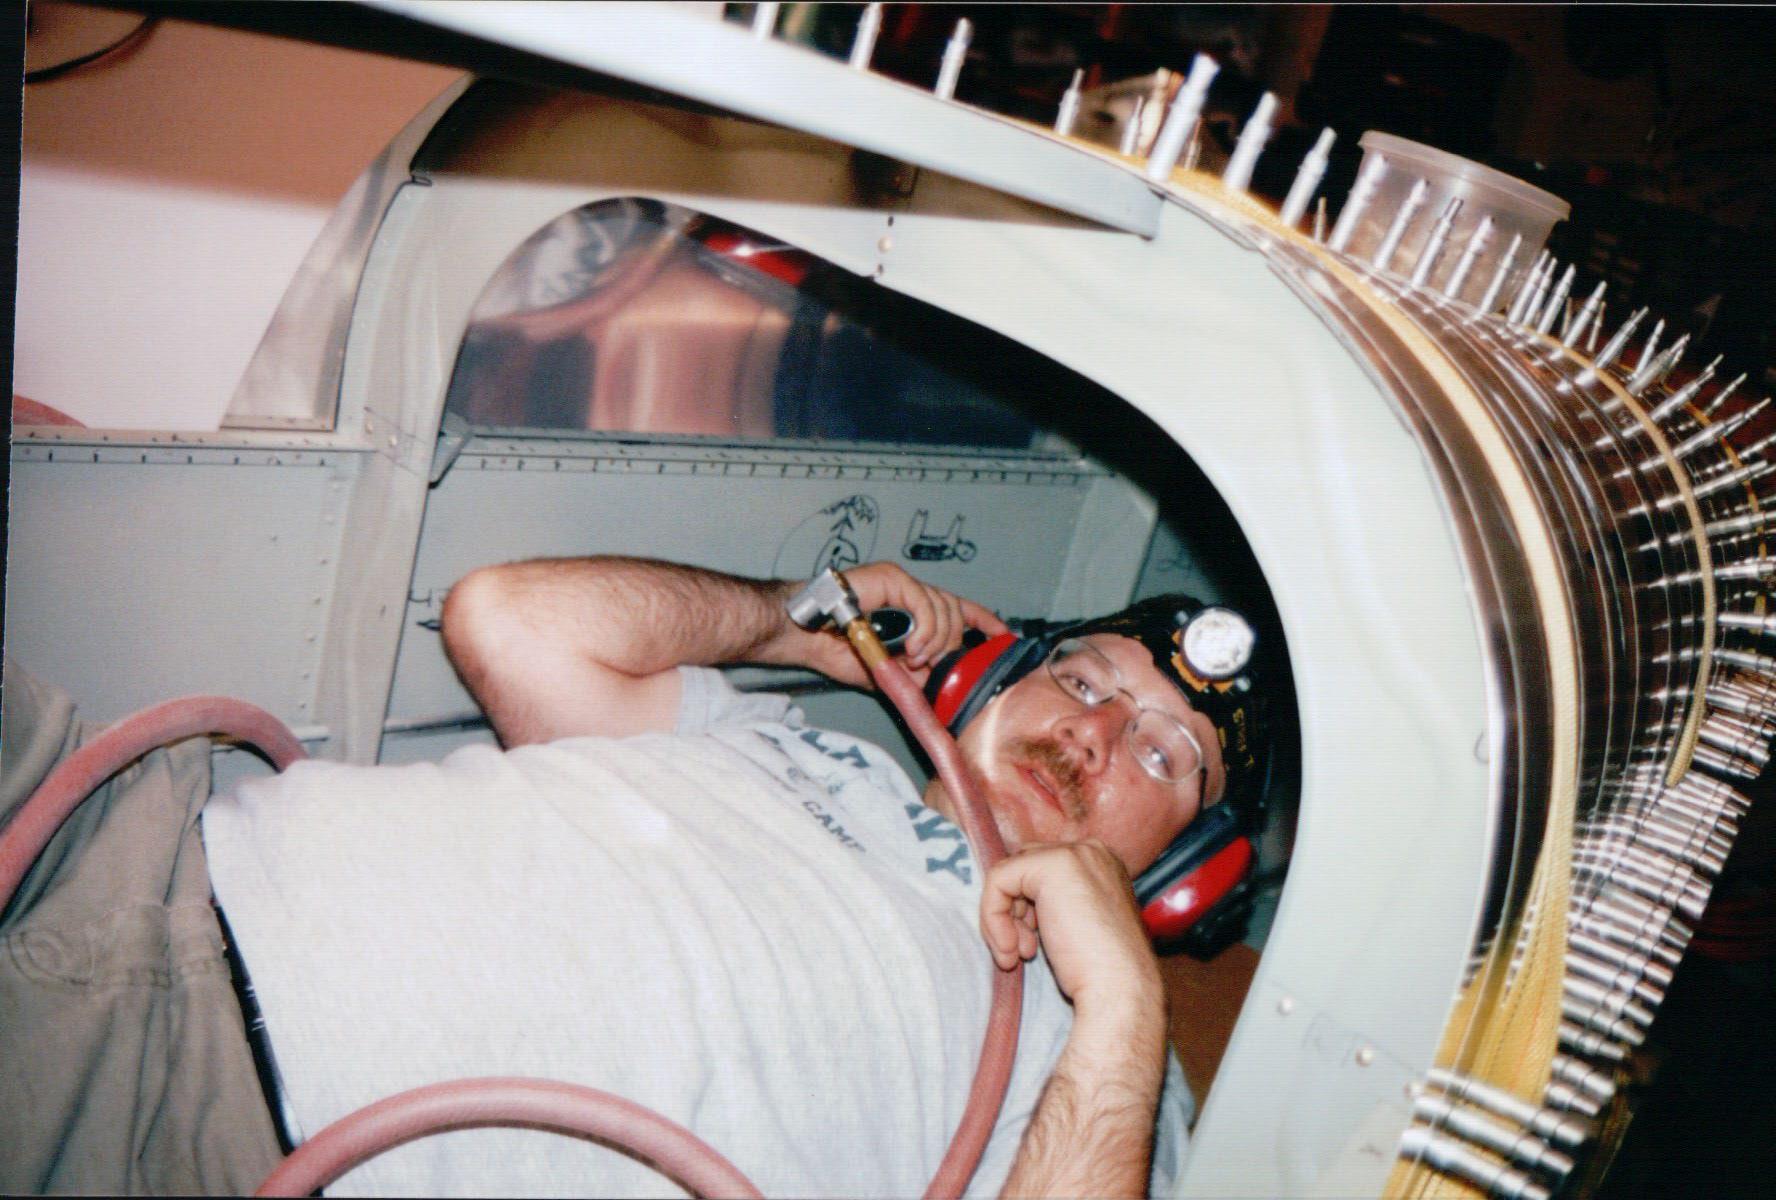
And my wife, cleco installer at this point, took this picture for me when I was taking a short break from back-drilling the skins. Note the cool headlamp and my daughter's artwork, forever upside down now that the fuselage was out of the jig and flipped right side up:
After deburring, dimpling, shimming the curves as required between bulkheads and skins, and a short riveting session with me on the inside and my wife on the outside, the aft fuselage is starting to look "finished":
Other side after aft top skins were riveted in place:
Fuselage: pg 1 | pg 2 | pg 3 | pg 4 | pg 5 | pg 6 | pg 7 | pg 8 | pg 9 | pg 10 pg 11 | pg 12 | pg 13 | pg 14 | pg 15 | pg 16 | pg 17 | pg 18 | pg 19 | pg 20 pg 21 | pg 22 | pg 23 | pg 24 | pg 25 | pg 26 | pg 27 | pg 28 | pg 29 | pg 30 pg 31 | pg 32 | pg 33 | pg 34 | pg 35 | pg 36 | pg 37 | pg 38 |
|
This page was last updated on 12/18/11.
Click here for questions or feedback. Copyright © 2007. All rights reserved. Chris Hand, chris@ckhand.com
|
225.JPG)
226.JPG)