|
|
|
Aviation Links:
|
Wingtip Installation: pg 1 | pg 2
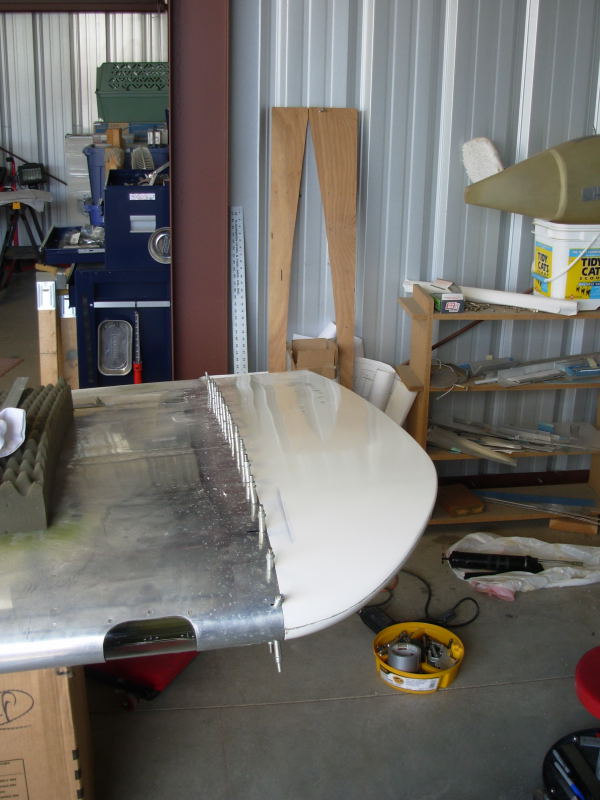
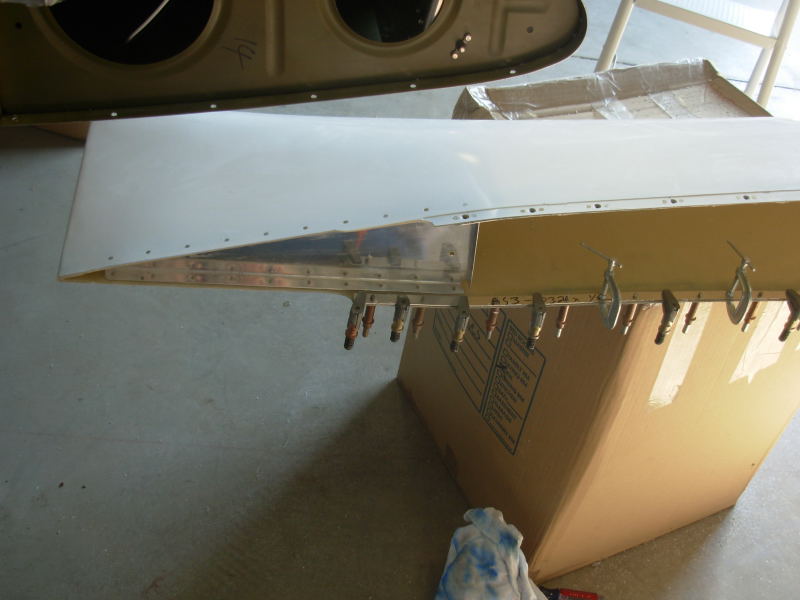
I cut some 1/4" plywood shapes to the approximate wing rib shape and taped them in place inside the fiberglass wingtip. Then fit the wingtip in place, secured with duct tape, and drilled to the wingtip with spacing for #6 screws & nutplates. Here's the left wingtip drilled in place:
And bottom view of left wingtip just after drilling:
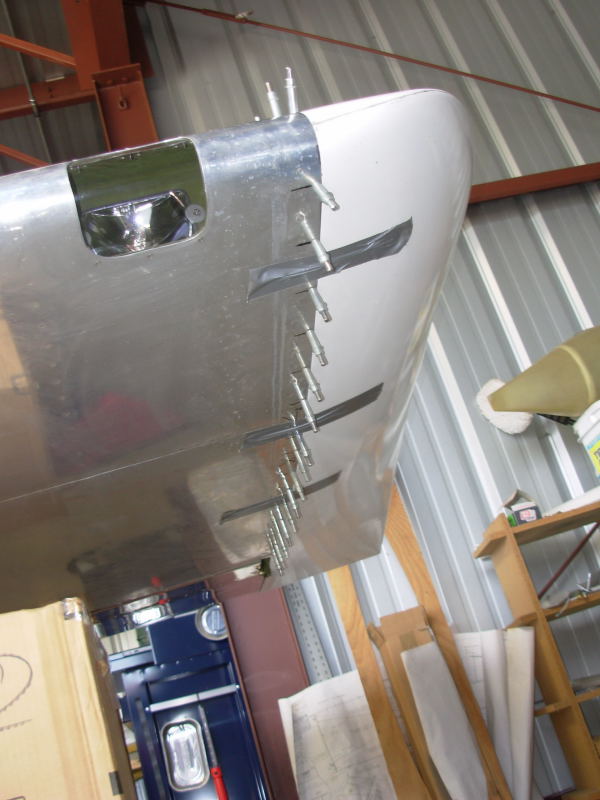
To keep the wingtip from interfering with aileron travel, I had to do a bit of trimming on the fiberglass just forward of the aileron leading edge. Here's the view from top, aft just after drilling in place:
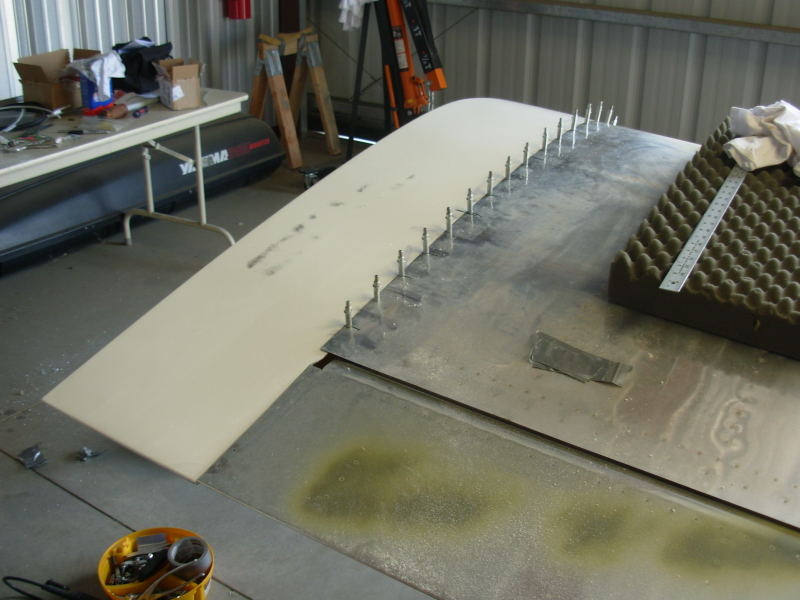
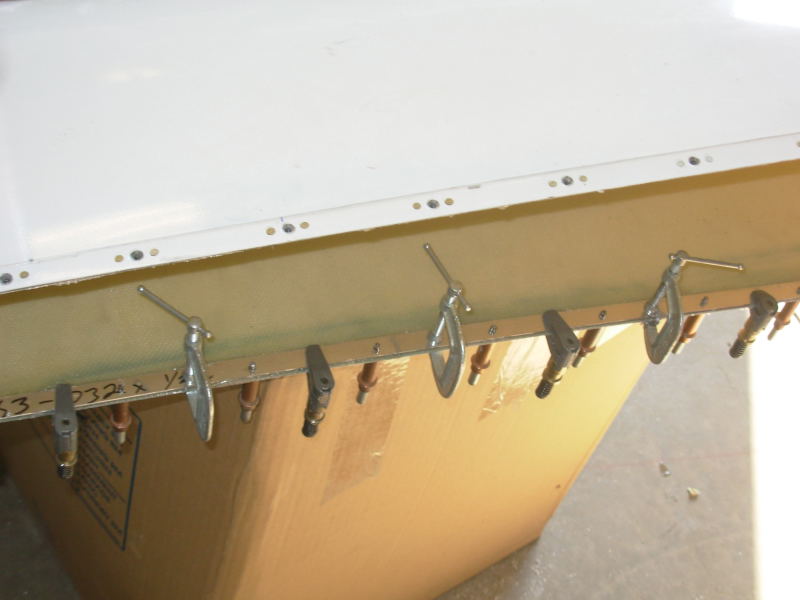
After initial fitting, I removed the tips, installed the rear rib, and installed some backing strips for easier nutplate installation. The backing strip was glued in place with "Shoe Goo" adhesive held with #30 sized clecos and some clamps. I left them this way overnight and drilled/installed the nutplates the next day; worked great:
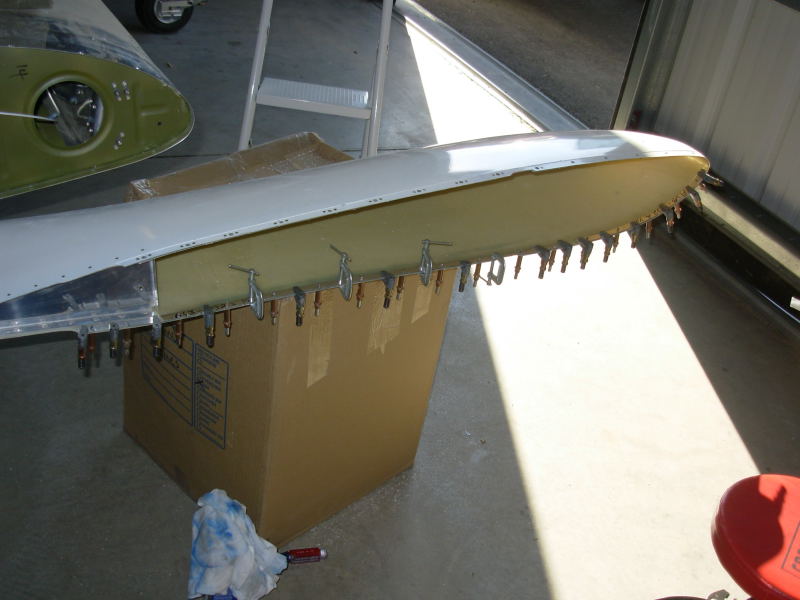
Closer view of nutplates installed on one side with backing strip glued in place on other side:
Wingtip Installation: pg 1 | pg 2
|
|
This page was last updated on 12/18/11.
Click here for questions or feedback. Copyright © 2007. All rights reserved. Chris Hand, chris@ckhand.com
|